Let me prelude this post with a massive thank you to my wife for letting me bury myself into this project. As much as I get annoyed at times, building/making is actually a huge stress reliever for me.
I have already referenced to this project here and here and am very excited to start writing about it.
A few years back I found InMoov but felt it was out of my budget at the time. My time was also spread pretty thin. I was working as a Logistics Manager, trying to help raise kids, and had a plethora of other hobbies. Fast-forward to now… The kids are grown, I have changed roles at work, and I have moved on from many of my more time-consuming hobbies.
If you choose to build InMoov, there are recommended parts such as servos and other hardware that the designer has already tested. For example, ABS is the recommended filament type due to the inherent strength it provides. However, most of my InMoov will be in PLA with PETG for gears. If you
Background
Gaël Langevin is a true genius in my opinion. He started designing the InMoov project back in 2012, originally as a prosthetic hand design. He continued on to design a full humanoid body. InMoov can see, speak, hear, and move! And then Gaël shared it openly with the world! I simplified his story and what InMoov is capable of – not to diminish anything but you can read more about it if you choose on his site.
My InMoov beginnings
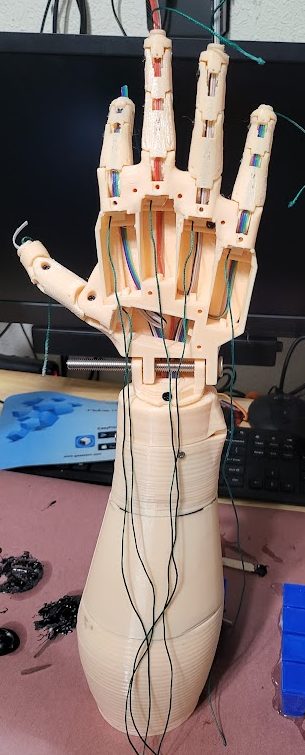
Better to start small. First I made the “Finger-Starter” as shown in my post Robots! Yes I said ROBOTS! I had to be sure the both I and my printer were up to the task. It was a huge success and I straightaway started on the full right hand.
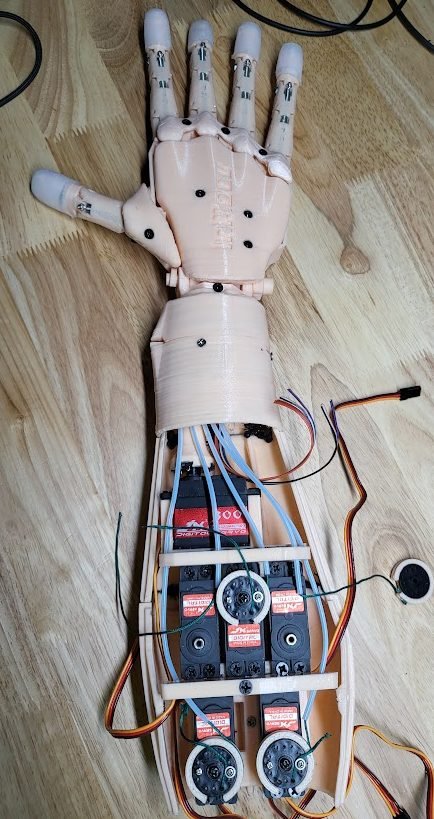
Here are some images of the “during” process. Most of the printing was complete in these examples and I was fitting servos and running ‘tendons’. Those silicon finger tips allow InMoov to measure pressure so it knows how hard to grab. Please forgive my photos, I am no photographer and most of my project pictures are taken as-is.
From the hand to the arm
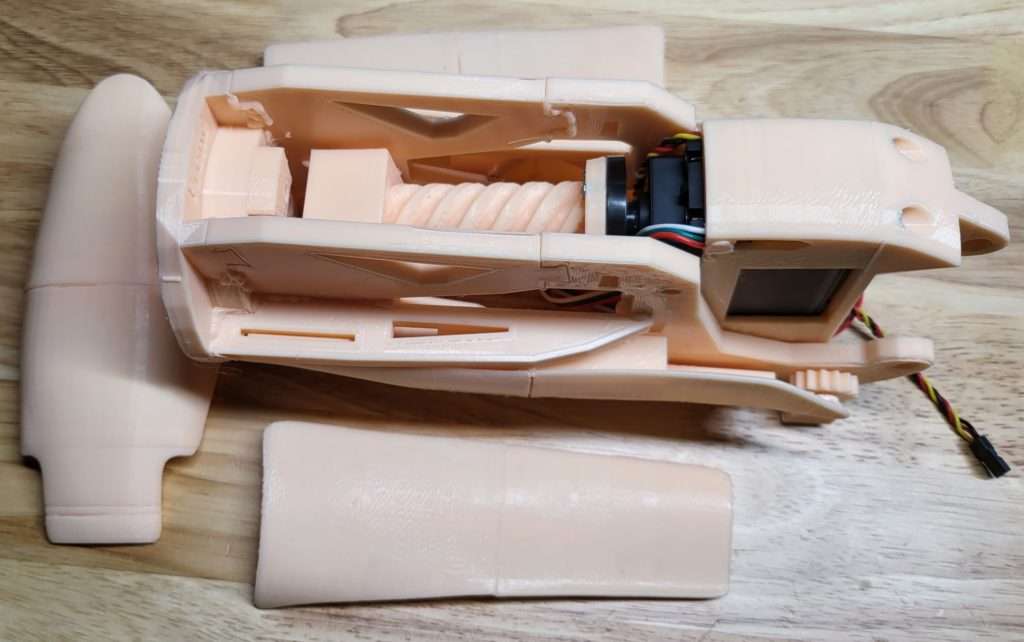
Yes, technically there is a forearm in the pictures above but where is the bicep? See below 🙂 Here we start working with larger servos to handle the extra weight and movement. I do not have it attached to the forearm yet as I was awaiting some ribbon cable and PCBs to arrive.
September status
I finished the right arm pieces and shifted to the body (torso/stomach/chest). As fun as building the arm is, I want my InMoov to start to take form. A single arm is not satisfying my needs.
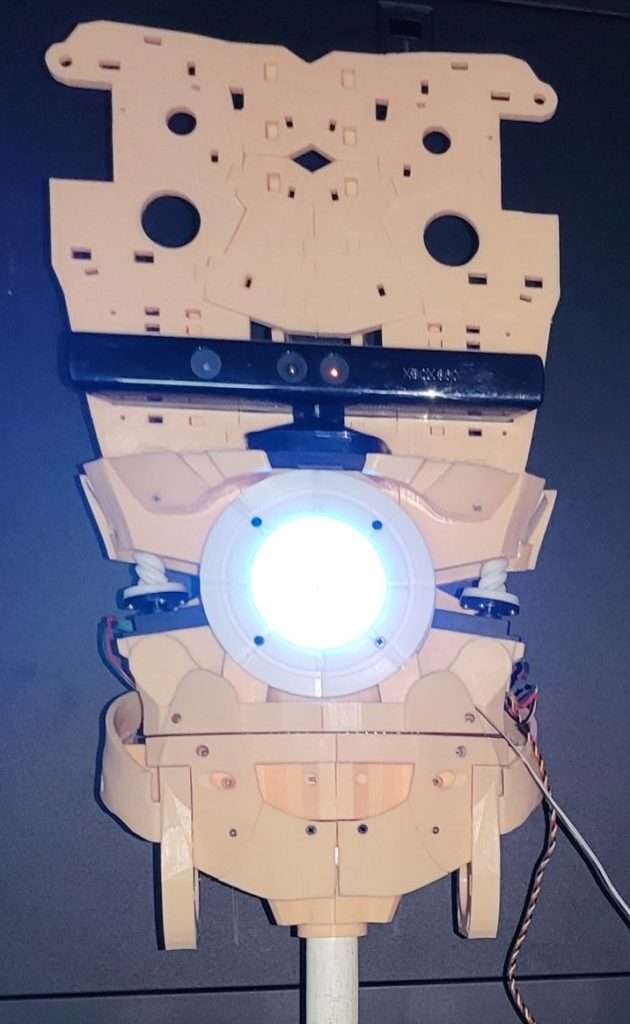
Luckily I have multiple 3D printers and am able to cut down on the time it would take to print all the parts. The images below are the body about 40-50% complete. I still need the back, shoulders, and external panels that give InMoov the real look of a humanoid but you start to get the idea.
Onward
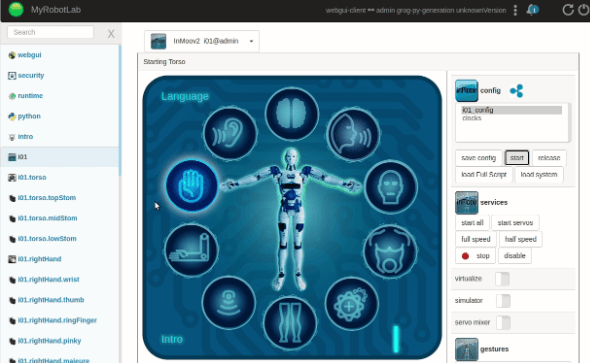
There is still plenty to do. I cannot wait to make the head and get InMoov talking. Printers are running almost around the clock and so many parts need to be assembled. In between assembling I tinker with the software that should really be called out as well. MyRobotLab, or MRL for short, is the open-source software that makes InMoov come alive. A great group of people work on this in their free time and are available regularly on Discord if you run into any issues.
